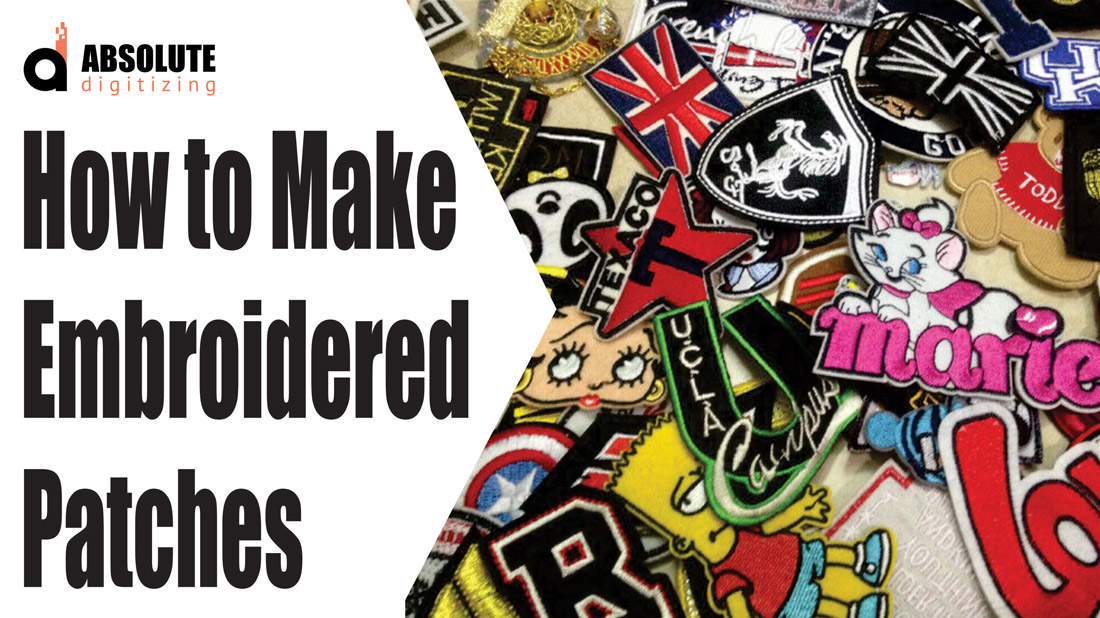
The Creative Process How to Make Stunning Embroidered Patches

There’s something undeniably cool about a well-made embroidered patch – that perfect blend of craftsmanship and personal expression. Whether it’s sewn onto a vintage denim jacket, stuck to a well-worn backpack, or displayed as framed textile art, a great patch tells your story through thread and fabric. The process of designing and stitching one from scratch delivers way more satisfaction than simply buying a mass-produced patch off the shelf. But here’s the reality every patch-maker learns quickly: not all embroidered patches are created equal. Some emerge crisp, vibrant, and built to withstand years of wear, while others quickly fray at the edges, fade in sunlight, or just look disappointingly… meh when you hold them up close.
So, how to make embroidered patches that actually stand out? It’s all about the process—from design to digitizing to stitching and finishing. Let’s break it down step by step so you can create patches that look pro-level, even if you’re just starting out.
Step 1: Nail the Design (Because Garbage In = Garbage Out)
Before you even touch your embroidery machine, you need a solid design. Here’s what makes a patch design work:
- Bold, Clean Shapes – Tiny details get lost in stitching. Think thick lines, clear outlines, and distinct color blocks.
- Limited Colors – More colors = more thread changes = bulkier patches. Stick to 3-6 colors max for a clean look.
- High Contrast – Light thread on light fabric (or vice versa) just blends together. Make sure your colors pop.
Pro Tip: If you’re working with a complex logo, simplify it first. Remove gradients, thin lines, and tiny text—embroidery thrives on boldness.
Step 2: Digitizing for Patches (This Is Where Most People Mess Up)
You can’t just slap any embroidery file onto patch material and call it a day. Patches need special digitizing settings to look sharp and hold up over time. Here’s what the pros do differently:
- Dense Stitch Coverage – Patches take a beating, so stitches should be tight (but not so tight they warp the fabric).
- Extra Underlay – This stabilizes the design and prevents edges from curling.
- Merrow or Satin Edge Finish – A stitched border (usually satin stitch) keeps the patch from fraying.
Biggest Mistake to Avoid: Using a regular embroidery file without adjusting density. Patch files should be at least 20% denser than standard designs.
Step 3: Choosing the Right Materials (Fabric, Stabilizer, Thread)
Not all fabrics work for patches. Here’s what holds up best:
- Fabric: Twill, denim, or felt are top choices—they’re sturdy and don’t stretch.
- Stabilizer: Heavy-duty cutaway stabilizer is a must. Tear-away will just fall apart.
- Thread: Polyester thread is more durable than cotton (and less likely to fade).
Bonus Hack: For extra stiffness, add a layer of fusible interfacing before stitching.
Step 4: Stitching It Out (The Make-or-Break Moment)
Now for the fun part—actually embroidering your patch. Here’s how to avoid disaster:
- Hoop Tightly – Loose fabric = misaligned stitches.
- Go Slow – Patches are small, so precision matters. Rushing leads to thread breaks and jams.
- Trim Jump Threads – Clean up excess threads between color changes for a polished look.
Pro Move: Stitch a test patch first. If the edges pucker or the design looks warped, tweak your digitizing file.
Step 5: Cutting & Finishing (The Secret to Pro-Level Patches)
This is where DIY patches often look amateurish. Pros do two key things:
- Clean Cutting – Use sharp scissors or a laser cutter to trim the patch neatly, leaving a small border for the edge stitch.
- Sealing the Back – A layer of heat-seal adhesive (like Thermoweb) keeps threads locked in and makes the patch iron-on ready.
Alternative Edge Finish: If you’re not doing a satin border, you can use a merrow edge (a overlock stitch) for a vintage look.
Step 6: Attaching Your Patch (Because What’s the Point If It Falls Off?)
You’ve put in all this work—now make sure your patch stays put. Here are the best ways to attach it:
- Sewn On – Most durable option. Use a tight zigzag stitch around the edges.
- Iron-On – Fast and easy, but not as long-lasting (great for temporary patches).
- Velcro Backing – Perfect for tactical gear or interchangeable patches.
Pro Tip: For iron-on, always reinforce with a few hand stitches at the corners.
Troubleshooting Common Patch Problems
Even with the best process, things go wrong. Here’s how to fix the most common issues:
- Fraying Edges? – You didn’t use enough stabilizer or skipped the border stitch.
- Stitches Too Loose? – Increase density in your digitizing file.
- Patch Curling? – Not enough underlay or the fabric wasn’t hooped tightly enough.
Final Thought: Patches Are Meant to Be Fun
The best patches have personality—whether it’s a quirky inside joke, a bold statement, or a retro-inspired logo. Don’t stress over perfection. Experiment with different fabrics, thread colors, and edge finishes until you find your signature style.
Now go make something awesome—and slap it on everything you own.


