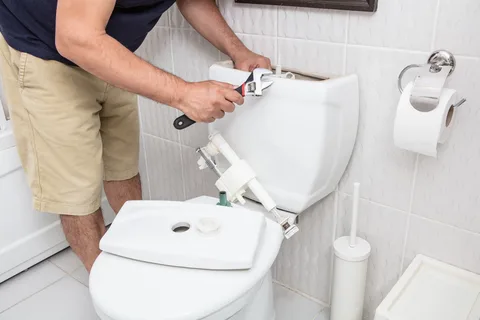
Transform Your Bathroom: A Complete Guide to Installing a New Toilet

Installing a new toilet can be a daunting task, but with the right tools and instructions, it can be a manageable DIY project. Whether you’re replacing an old toilet or installing a new one, this guide will walk you through the steps to ensure a successful installation.
Why Replace Your Toilet?
Before we dive into the installation process, let’s consider a few reasons why you might want to replace your toilet:
- Efficiency: Newer toilets are designed to use less water per flush, helping you save on your water bill.
- Functionality: If your toilet is constantly clogging or leaking, it may be time for an upgrade.
- Aesthetics: A modern toilet can improve the overall look of your bathroom.
Tools and Materials Needed
Before starting your project, gather the following tools and materials:
- New toilet
- Toilet wax ring or gasket
- Closet bolts (usually included with the toilet)
- Adjustable wrench
- Screwdriver
- Level
- Tape measure
- Plumber’s putty (optional)
- Bucket (for any water that may spill)
Step-by-Step Installation Process
- Prepare the Area:
- Turn off the water supply to the toilet.
- Flush the old toilet to empty the tank and bowl, and use a sponge to soak up any remaining water.
- Remove the Old Toilet:
- Disconnect the water supply line from the tank.
- Remove the nuts securing the toilet to the floor and gently rock the toilet to break the wax seal.
- Inspect and Prepare the Flange:
- Check the flange for damage; replace it if necessary.
- Clean the area where the new wax ring will sit.
- Install the Wax Ring:
- Place a new wax ring onto the flange or the bottom of the toilet.
- Position the New Toilet:
- Carefully lift the new toilet and align it over the flange and wax ring.
- Press down evenly and use a level to check for evenness.
- Secure the Toilet:
- Install the closet bolts through the flange into the toilet base and tighten the nuts.
- Reconnect the Water Supply:
- Reattach the water supply line and turn the water back on.
- Test the Toilet:
- Allow the tank to fill, flush the toilet, and check for leaks.
- Seal the Base (Optional):
- Apply a bead of silicone caulk around the base for added stability.
Important Considerations
When it comes to plumbing toilet installation, there are several important aspects to consider to ensure a successful outcome. Properly preparing the area and carefully following the steps outlined above can help you avoid common pitfalls.
Troubleshooting Common Issues
- Wobbling Toilet: If your toilet wobbles, use plastic shims to level it, then secure it with caulk.
- Slow Flushing: Check rim holes for blockages; clear them if necessary.
- Frequent Clogging: Consider the toilet design and plumbing issues; avoid flushing anything other than waste and toilet paper.
Maintenance Tips
Regular maintenance can extend the life of your toilet:
- Clean regularly using non-abrasive cleaners.
- Inspect components like the flapper and fill valve for wear and tear.
- Consider water-saving features to reduce usage.
Conclusion
Installing a toilet may seem like a challenging task, but with the right preparation and guidance, you can complete the job successfully. Whether you’re a seasoned DIYer or a first-timer, following this guide will help you achieve a proper installation.
If you have any questions or run into issues during your project, don’t hesitate to consult a professional plumber for assistance. With a little effort, you can enjoy the benefits of a new toilet in your home!


