How to Curve an Edging Stone for Clean Borders Effortlessly

How to Curve an Edging Stone for Clean Borders
Edging stones help define garden beds, walkways, and lawns, giving your landscape a clean, finished look. But what happens when your landscape design calls for curves? Straight edging won’t cut it. Learning How to Curve an Edging Stone for Clean Borders is essential for creating a flowing, natural look that enhances your outdoor space.
In this guide, you’ll learn how to curve edging stones properly using practical tools and methods. Whether you’re edging around a circular flower bed or lining a winding path, this process will help you achieve smooth, professional-looking results.
Best Method to Curve Edging Stones for Landscape Design
Before you start the process, it’s important to understand that not all edging stones are created equal. Some are made to be flexible, while others require cutting or strategic placement. Planning your layout ahead of time ensures that your curves look intentional—not forced.
✅ Materials You’ll Need:
- Flexible or cuttable edging stones
- Shovel or edging tool
- Sand or paver base
- Masonry saw (optional)
- Garden hose (for curve layout)
- Rubber mallet
Step 1: Plan the Curve
Lay out your curve using a garden hose or rope. This will act as your visual guide. Make sure the curve flows naturally with the shape of your yard or garden. A gradual curve is easier to manage than tight turns.
Step 2: Dig the Trench
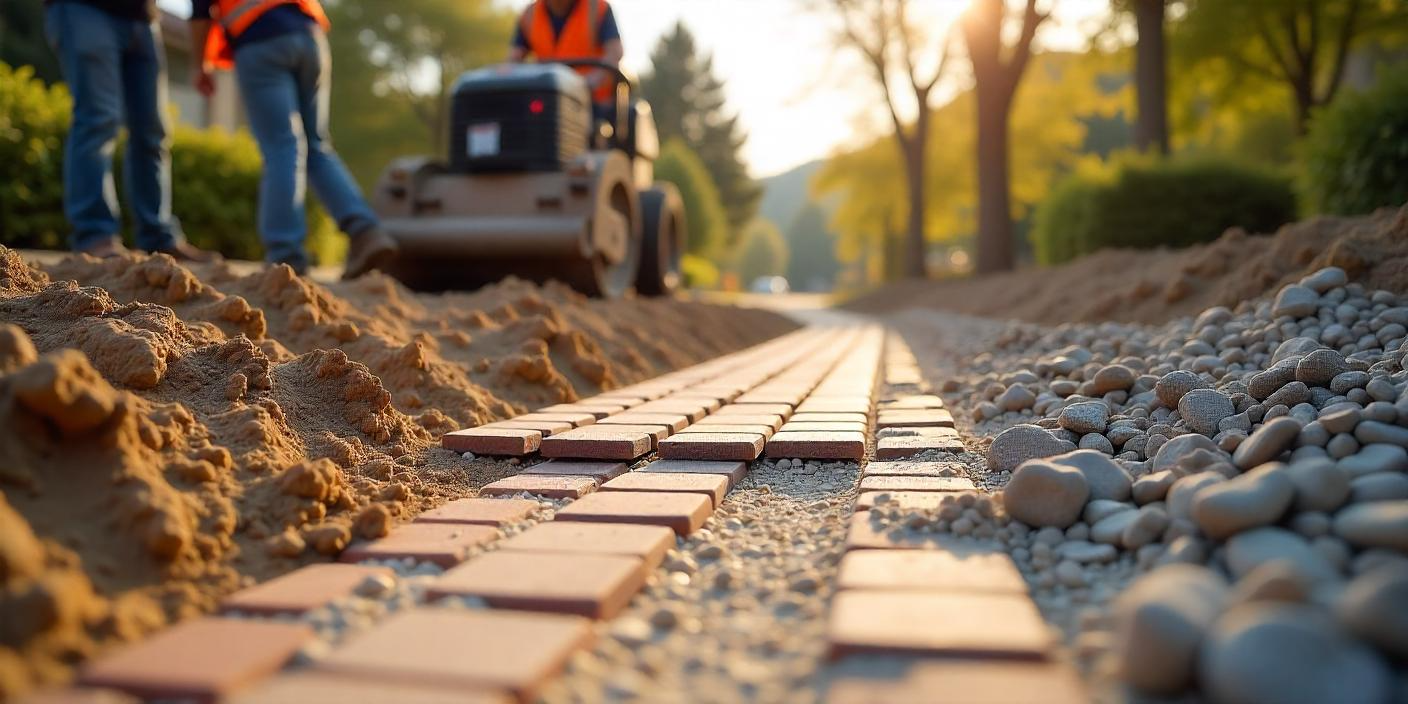
Use a flat shovel or edging tool to dig a trench along your curved line. The trench should be slightly wider than the edging stone and deep enough to accommodate the base material and the stone itself.
Step 3: Add the Base
Fill the bottom of the trench with a layer of sand or paver base. This provides a stable foundation and helps with drainage. Compact it firmly before placing the stones.
Step 4: Adjust the Stones
If you’re using flexible edging stones, bend them along the curve. For rigid stones, place them tightly and adjust the angle slightly with each one to follow the arc. For tighter curves, you may need to cut the stones using a masonry saw.
Step 5: Secure in Place
Tap each stone into place using a rubber mallet. Check the alignment regularly to ensure the curve remains smooth. Backfill with soil or mulch to secure the stones even further.
Step 6: Final Touches
Water the area lightly and walk along the edge to check stability. Make adjustments if needed. You now have a curved edge that looks professionally installed.
Tip: For sharp curves, use smaller or shorter edging stones. They’re easier to maneuver and require less cutting.
For an even more in-depth tutorial, visit our guide:👉 How To Install Concrete Landscape Edging Stones Curved
Common Mistakes When Curving Edging Stones
Avoiding these common errors can save you time and frustration:
- Skipping the layout – Not planning the curve first leads to uneven lines.
- Using the wrong materials – Rigid bricks won’t bend without cutting.
- Not securing the base – Without a solid base, stones will shift or sink.
- Overcutting – Cutting stones too short creates gaps that look sloppy.
Proper planning and the right tools make a big difference in how professional your landscape edges appear.
Why Curved Edging Improves Curb Appeal
Curved edging stones offer a softer, more natural transition between different landscape features. Straight lines can look harsh or out of place in garden settings. Curves, on the other hand, mimic organic shapes found in nature, making your space feel more harmonious.
Curved borders are especially popular in:
- Garden bed outlines
- Pathways and walkways
- Around trees and large plants
- Decorative lawn borders
They’re not just visually pleasing—they also improve functionality by guiding foot traffic and containing mulch or gravel neatly.
Professional Landscape Services in San Jose
If you’d rather not tackle this yourself, our experts at
👉 Lakota Design Group
can help you design and install curved edging stones with precision. We provide custom landscape design, lighting, artificial turf installation, and complete project management across the Bay Area.
Whether it’s residential or commercial, we bring over 49 years of experience to each outdoor space, ensuring it looks great and functions efficiently.
Bonus: Best Types of Edging Stones for Curves
Not sure which edging stones to use? Here are the best types for curved applications:
- Concrete pavers – Versatile and easy to cut
- Cobblestones – Smaller stones fit curves well
- Rubber or plastic edging – Pre-bendable and easy to install
- Natural stone – Adds a rustic look with flexible placement
Choose a material that suits your yard’s style and your budget. If you’re unsure, a landscaping expert can help you make the right selection.
Final Thoughts
Learning How to Curve an Edging Stone for Clean Borders opens up new creative possibilities for your landscaping projects. With the right tools, a bit of patience, and careful layout, you can transform your yard into a professionally styled outdoor space that stands out.
For top-quality service and expert results, trust the team that has been shaping landscapes for nearly five decades. Whether you’re DIY-ing or hiring a professional, curved edging is a smart upgrade that boosts both beauty and functionality.


